How to Use Specode to Quickly Launch a Health App

Here's the deal: launching a health app quickly comes down to doing things in the right order, with guardrails that keep you from shipping something pretty that falls apart the moment real users (and real compliance constraints) show up. Specode gives you a guided path from a plain-English idea to a working app, plus a HIPAA-ready foundation for the core hosting and data layer.
We'll take a first-timer's path: get oriented, then walk through Specode's guided build flow and iterate on what comes out. Along the way we'll share the pro-tips that actually save time: let the AI scope your MVP, work in small approved steps, and run the built-in HIPAA Compliance Agent before you ship. Your first working build (3 to 5 screens, complete with role-based example logins) is typically ready in about 10 minutes.
By the end, you'll have a demo-ready foundation you understand and can keep evolving with confidence.
Key Takeaways:
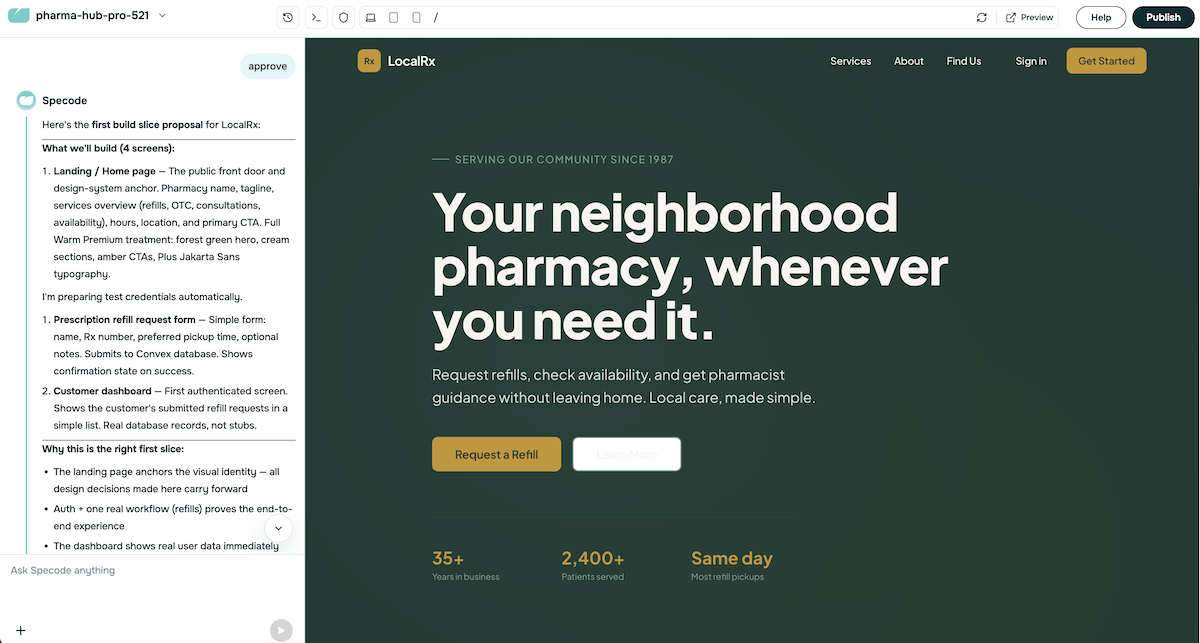
- You stay in the loop at every step. Specode's guided flow runs in three stages (Planning, Design, Implementation), each handled by a dedicated AI agent. You approve the roadmap before design starts. You approve the design before code gets written. Nothing gets built without your sign-off.
- Your first working build is ready in about 10 minutes. A 3 to 5 screen app, complete with example logins for each role you defined (patient, provider, admin, or whatever you specified). Sign in immediately and click through real flows.
- Iterate in small steps, one role, screen, or behavior at a time. Build it, preview, then adjust. Scope was handled upfront. As you refine the app, treat each request as a conversation.
- HIPAA rails are built in, and the backend hosting BAA is included on Pro. You don't negotiate a separate hosting BAA. The moment you connect third-party services (video, messaging, payments, analytics), expect separate BAAs and additional compliance work for those.
- Run the built-in HIPAA Compliance Agent before you ship. It scans your codebase, flags potential violations by severity (Critical, High, Medium, Low), and you can drop any issue into the chat for the AI to fix it. Each scan takes 3 to 4 minutes and costs about 1 credit.
1. Get Access to Specode
Specode is currently demo-gated, so the path in starts at specode.ai/schedule-demo. Book a slot, hop on a call with someone from the team, and if it's a fit you'll choose a plan (Pro at $1,000/month or Custom from $5,000/month). Your account gets provisioned, you sign in at app.specode.ai, and you land on your dashboard.
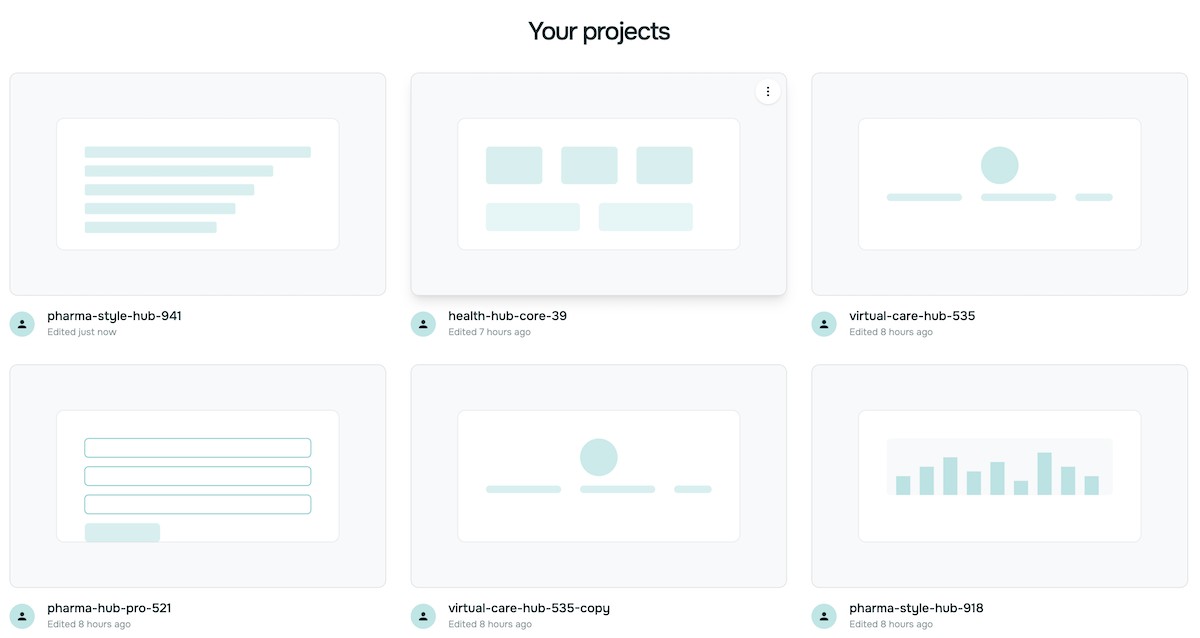
The dashboard is your hub: start a new project, switch between existing ones, and check your remaining AI Coder credits.
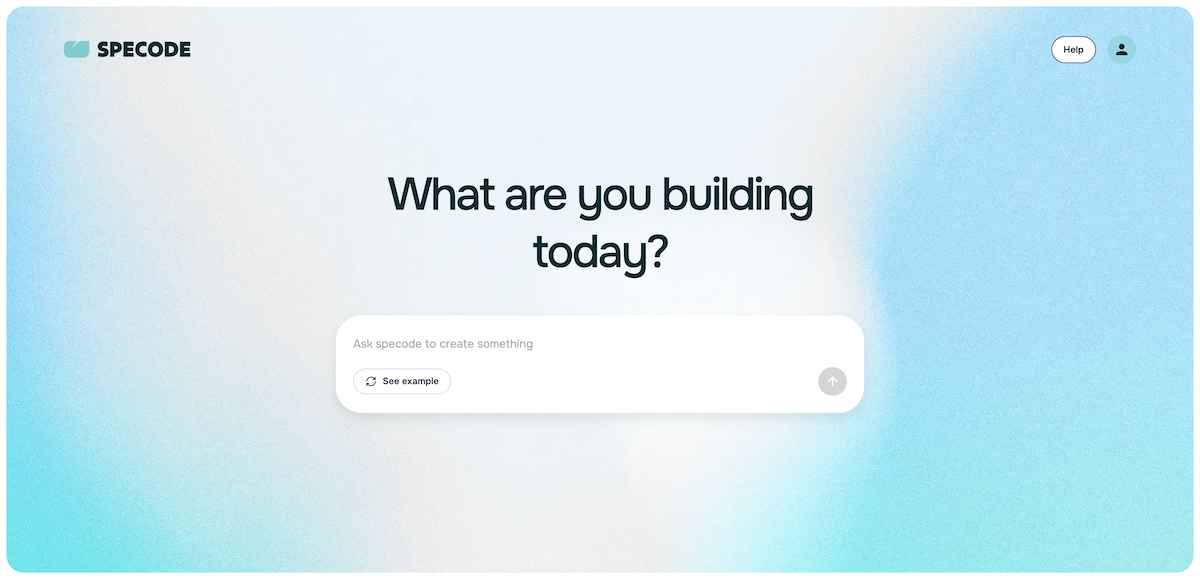
From here, you describe your first app idea in plain English. No spec, no wireframes, no architecture diagrams. A few sentences are enough to kick off the Planning Agent, which is where things get interesting.
2. Describe Your Idea and Approve the Plan
Click into a new project from the dashboard and you'll see a single prompt field. Type a plain-English description of what you want to build. No spec. No wireframes. A few sentences are plenty.
A useful first prompt names three things:
- the care flow you're building (intake, scheduling, messaging, remote monitoring, and so on)
- the roles involved (patient, provider, admin, or whatever you need)
- the core data the app handles (records, fields, and relationships at a high level)
Not sure how to phrase your first request? Click the sample-prompt button inside the prompt field. It cycles through real healthcare app examples so you can see what works.
Submit your prompt and the Planning Agent picks it up. This is the first of three specialized AI agents (Planning, Design, Implementation) that make up what the team calls Maestro. Each one owns a stage of the build, and you sign off before the next one starts.
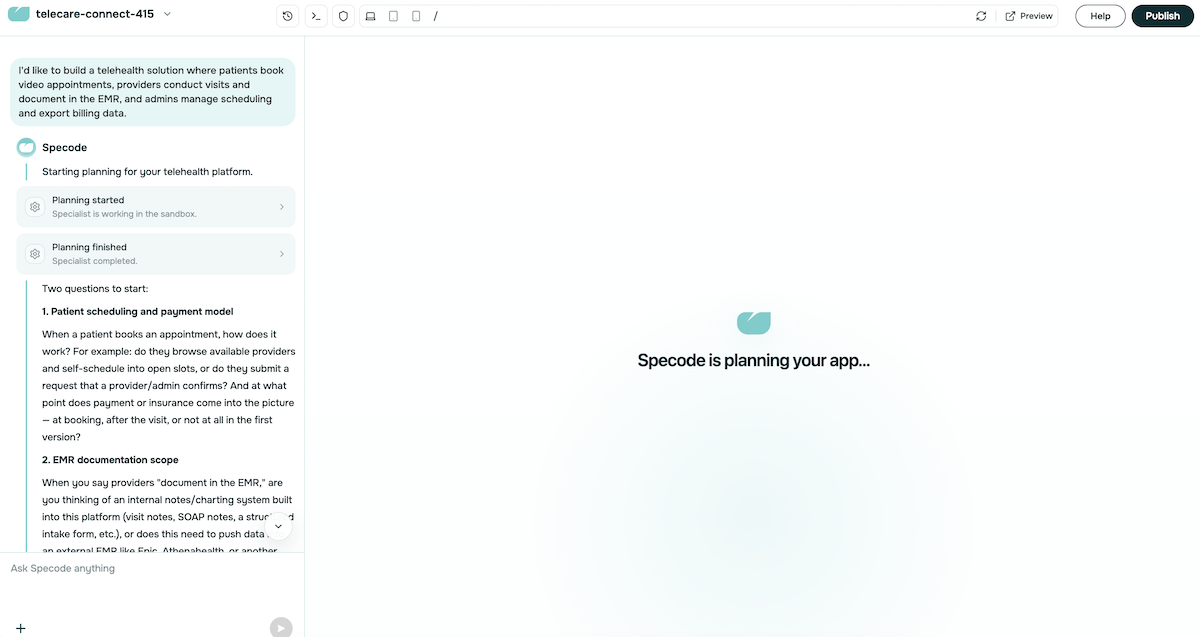
Work through planning
The Planning Agent talks to you the way a thoughtful PM would. It asks a few clarifying questions about scope, user roles, and what "done" looks like for v1. Answer a few rounds back and forth, and you end up with a scoped roadmap (typically 3 to 5 screens for the first build) plus a clear sense of what's deferred to later.
Pro tip: drop reference images into the chat during this stage. You can upload multiple at once: screenshots of apps you like, mockups, wireframes, even competitor pages. The Design Agent uses them later to pull direction on palette, typography, layout density, and feel. No need to pick hex codes upfront.
When the roadmap matches what you have in your head, approve it. Nothing moves forward until you do. If something feels off, push back. Ask the Agent to adjust scope, drop a screen, add a role, or rethink a priority. The roadmap is yours.
Work through design
Once the roadmap is locked, the Design Agent takes over. It asks about your brand preferences: mood, apps you admire, what feels off in your category, what you specifically don't want. If you uploaded reference images during planning, this is where they pay off.
The Agent then proposes a complete design system: color palette, typography, component styles, spacing, motion. You review the brief and approve before any code gets written.
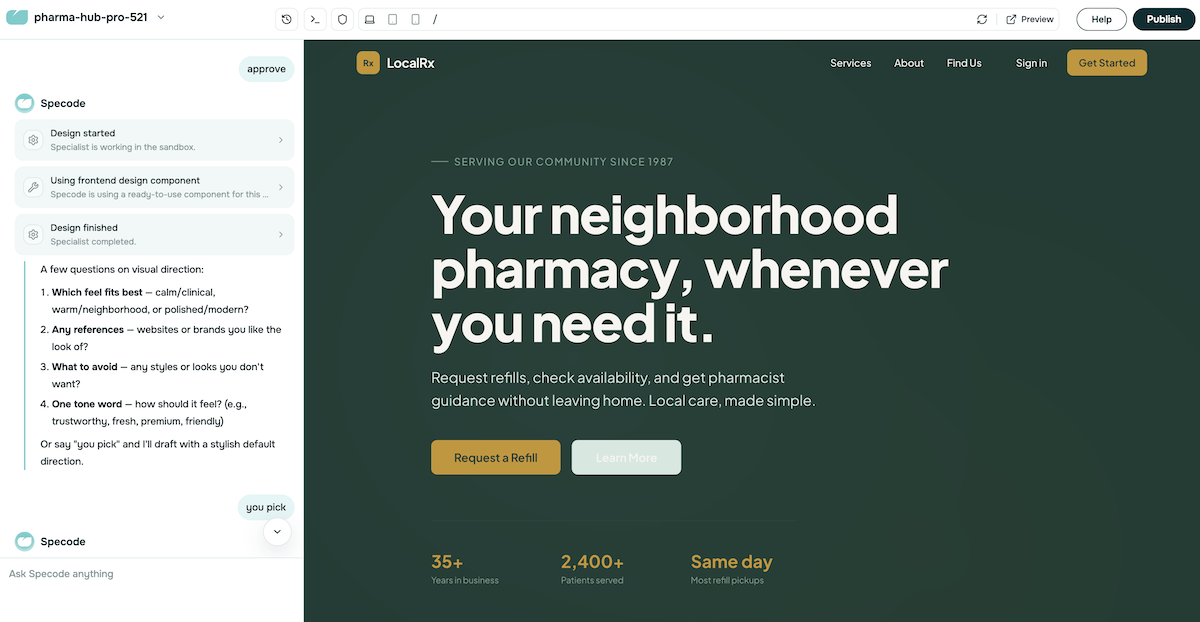
If the direction feels off, say so. Ask for a different mood, or push back on the palette and typography. You don't have to settle for the first proposal.
For a hands-on walkthrough of this whole stage, see the Quick Start Tutorial in the docs.
3. Meet Your First Working Build
Once you approve the design, the Implementation Agent gets to work. Roughly 10 minutes later you have a working app.
What that means in practice:
- A 3 to 5 screen app, scoped to the MVP you agreed on
- Working authentication
- A live preview you can click through immediately
- Example login credentials for each role you defined (patient, provider, admin, or whatever you specified)
That last point matters. Past tools dropped you into an empty dashboard and made you wire up users yourself before you could test anything. Specode hands you working seed accounts the moment the build finishes, so you can sign in as a patient and click through, then sign out and sign back in as a provider to see the other side of the same flow.
A note on the "blank canvas" philosophy: Specode doesn't ship templates. The Planning and Design agents shaped this app to your description, the Implementation Agent built it from that, and nothing about it is locked in. Everything you see is yours to change.
If the first build doesn't match your expectations, that's fine. The approval gates exist exactly to catch direction problems before code gets written. Bigger gaps (a missing role, a wrong workflow) typically trace back to something underspecified during Planning. Smaller polish issues belong to the next sections.
4. Get Familiar with the AI Coder Interface
By default, Specode opens the AI Coder with a 50/50 split: chat on the left, your live app preview on the right. You'll spend most of your time here.
Layout at a glance:
- AI chat (left): talk to the Agent to modify your project or ask how things work
- App preview (right): see changes immediately as you build
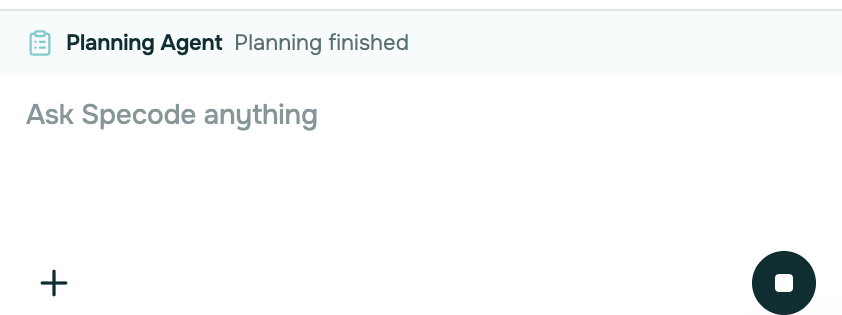
Chat basics
Type a request or question and hit send. While the AI is responding, the send button becomes a stop button. Press it to interrupt. A progress indicator in the chat shows when the AI is actively working. During major updates the send button is temporarily disabled to prevent interruptions. Press + to upload images (useful for design decisions).
Top navigation
The top bar gives you quick access to:
- Main Menu (project switcher, settings, credits)
- Change Log (roll back to a previous state)
- Terminal (developer-mode view of what's happening under the hood)
- Compliance Center (shield icon, opens the built-in HIPAA Compliance Agent, more in Section 9)
- Preview Controls (desktop, tablet, mobile views, plus hide and launch in new tab)
- Address bar and refresh
- Preview (generate a shareable link)
- Help
- Publish

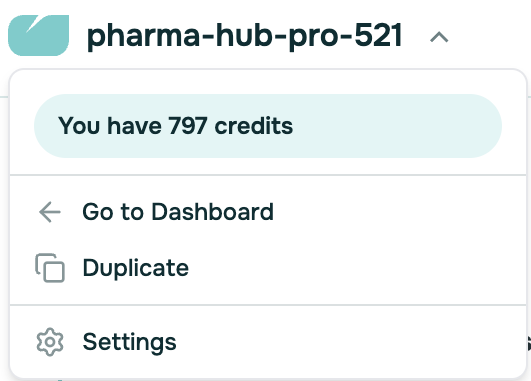
Main menu
Open the main menu by clicking the project name. From here you can:
- Check your remaining AI Coder credits
- Switch to another project or start a new one
- Open Project Settings
- Copy this project at any stable point, useful when you want to experiment without losing your current state
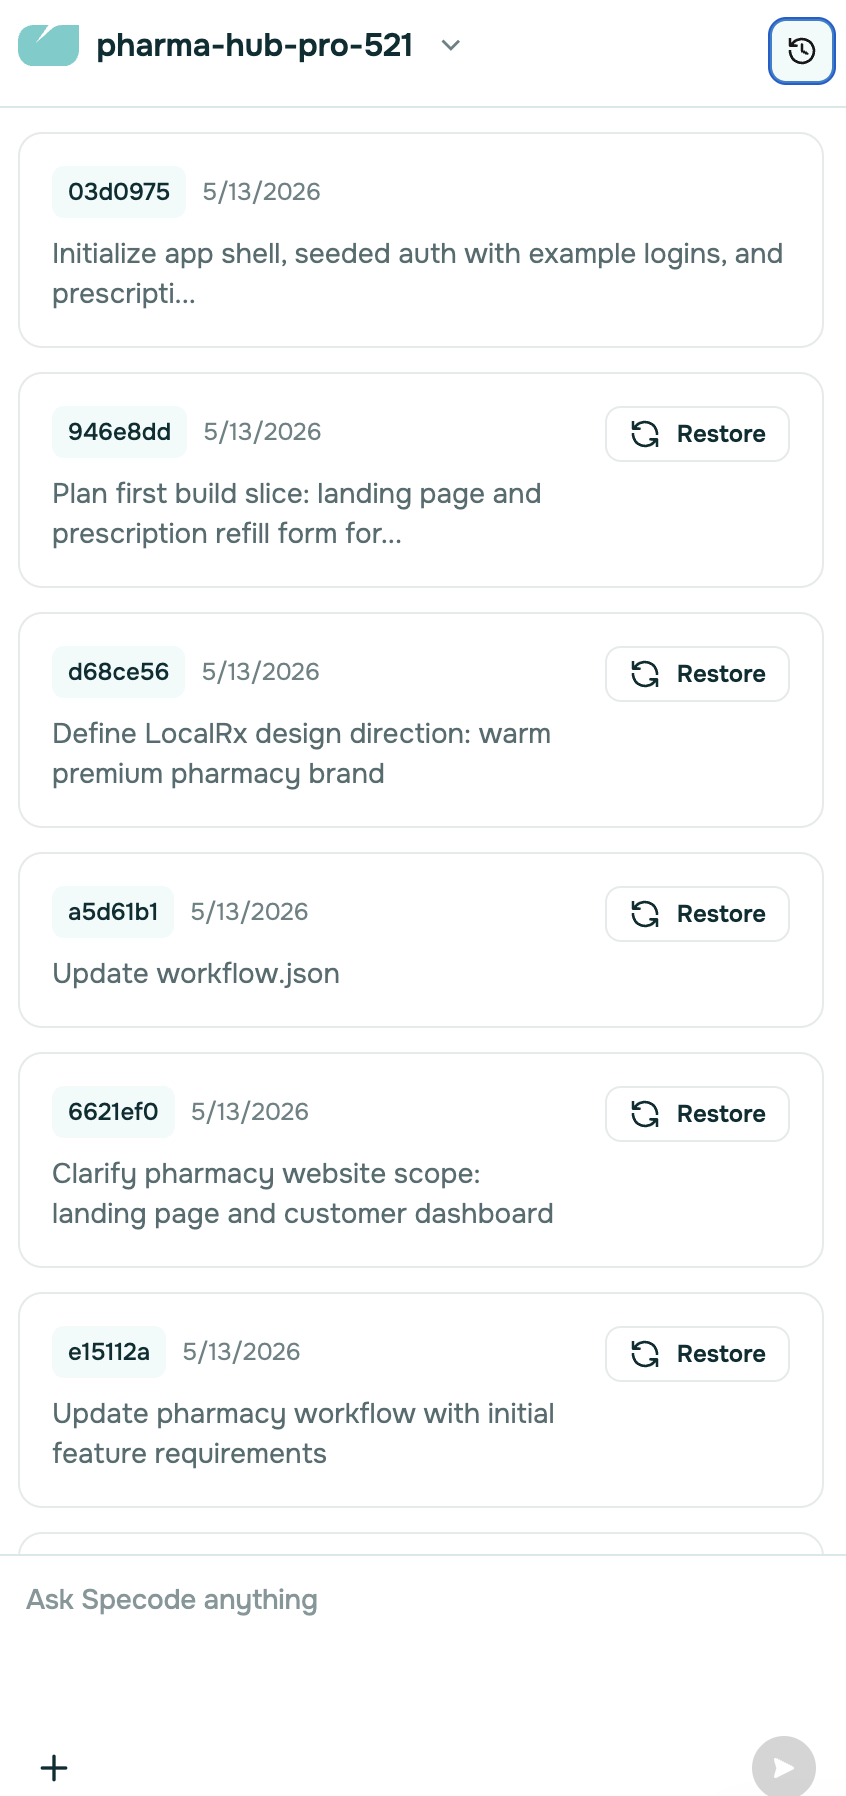
Change log
Opens a dialog listing recent changes. From here you can roll back to any previous state. Combined with project copy, this gives you two ways to keep things safe: rollback for "undo," copy for "branch off and try something risky."
Preview controls
Toggle between desktop, tablet, and mobile views. You can also hide the preview entirely or launch it in a new tab to see it the way others will. Refresh applies minor AI changes.
Compliance Center
The shield icon opens the HIPAA Compliance Agent: a built-in scanner that reviews your codebase for potential HIPAA violations and lets you fix flagged issues directly in chat. Run it before you press Publish. Section 9 walks through the workflow in detail.
Publish
Press Publish when you're ready to go live. This kicks off a security and operational review with the Specode team. More on this in Section 10.
5. Iterate Through Conversation
You've got a working first build. From here, you shape the app into what you actually want by talking to the AI one change at a time.
The rhythm:
- One request = one change. One role, one screen, one behavior.
- Always name the context. "Patient portal → intake form → add a 'Preferred Pharmacy' field" beats "add a preferred pharmacy field."
- Define 'done' in plain English. What should the user be able to do in the preview when this is finished?
- Test immediately. Build, preview, adjust, then move on.
This pattern looks slow at first. It's actually the fastest way to ship something that actually works. Big mega-prompts produce big tangled outputs that you spend twice as long unwinding.
Build one workflow end-to-end before starting the next
Pick a loop you can test in 2 to 3 minutes and finish it before you expand scope. Examples:
- intake → consent → profile created
- appointment request → provider confirms → patient sees it
- message sent → provider replies → patient sees the response
If you try to build five workflows at once, you'll spend your time debugging "almost" instead of shipping "done."
Prompts you can copy
Add something: For [role] on [screen], add [feature] so the user can [action]. Done when [observable result].
Modify something: In [feature], it currently [behavior]. Change it to [new behavior], including [rules/edge cases].
Fix a bug: In [feature], when [steps], it does [actual]; it should do [expected].
Keep it safe: Before you implement, summarize what you'll change and what might break. Then do the smallest version first.
Two real examples
Provider dashboard → add a "Today's Visits" card with start times and patient initials. Done when it shows today's scheduled appointments for that provider.
Intake flow → add "Preferred Pharmacy" (name, address, phone), make it required, and show a warning if missing.
When something goes sideways
Use the Change Log aggressively. If a change broke something or feels off, revert and re-apply in smaller steps. It's faster than arguing with a messy state.
For bigger experiments (refactoring a workflow, trying a different navigation structure), copy the project from the main menu first. You get a parallel version to break in safely. The original stays untouched.
If the AI gets too technical or starts using stack jargon, say: "Explain this like I'm not a coder. Give me the smallest next step."
If a screen looks empty or a feature isn't appearing where you expected, that's usually a foundation issue (roles, access rules, missing data). Ask the AI: "What's missing that prevents this feature from appearing for this role?"
For more on prompt construction during iteration, see Writing Effective Prompts in the docs.
6. Add Third-Party Services When You Need Them
Your app may eventually need third-party services: video for telehealth, SMS for reminders, payments for copays, e-prescribing, lab integrations, wearables. If you're building in the pharma space and planning a full patient-facing dispensing experience, our guide to pharmacy app development covers what that layer requires — eRx routing, multi-pharmacy fulfillment, and the compliance decisions that come with it.
The rule of thumb: If you don't need it for your first end-to-end workflow, don't add it yet. Integrations are easier to bolt on after your roles, screens, and data model already exist.
When you do need one, the workflow is a conversation:
- Tell the AI what you want. "I want to integrate Stripe to collect copays at checkout." Or: "Add Twilio SMS reminders when appointments are confirmed."
- Ask what credentials it needs. "What API keys should I add in Project Settings for this to work?" The AI will tell you exactly which keys to get from the external service.
- Get the keys. Sign up or log into the external service (Stripe, Twilio, whatever) and copy the credentials.
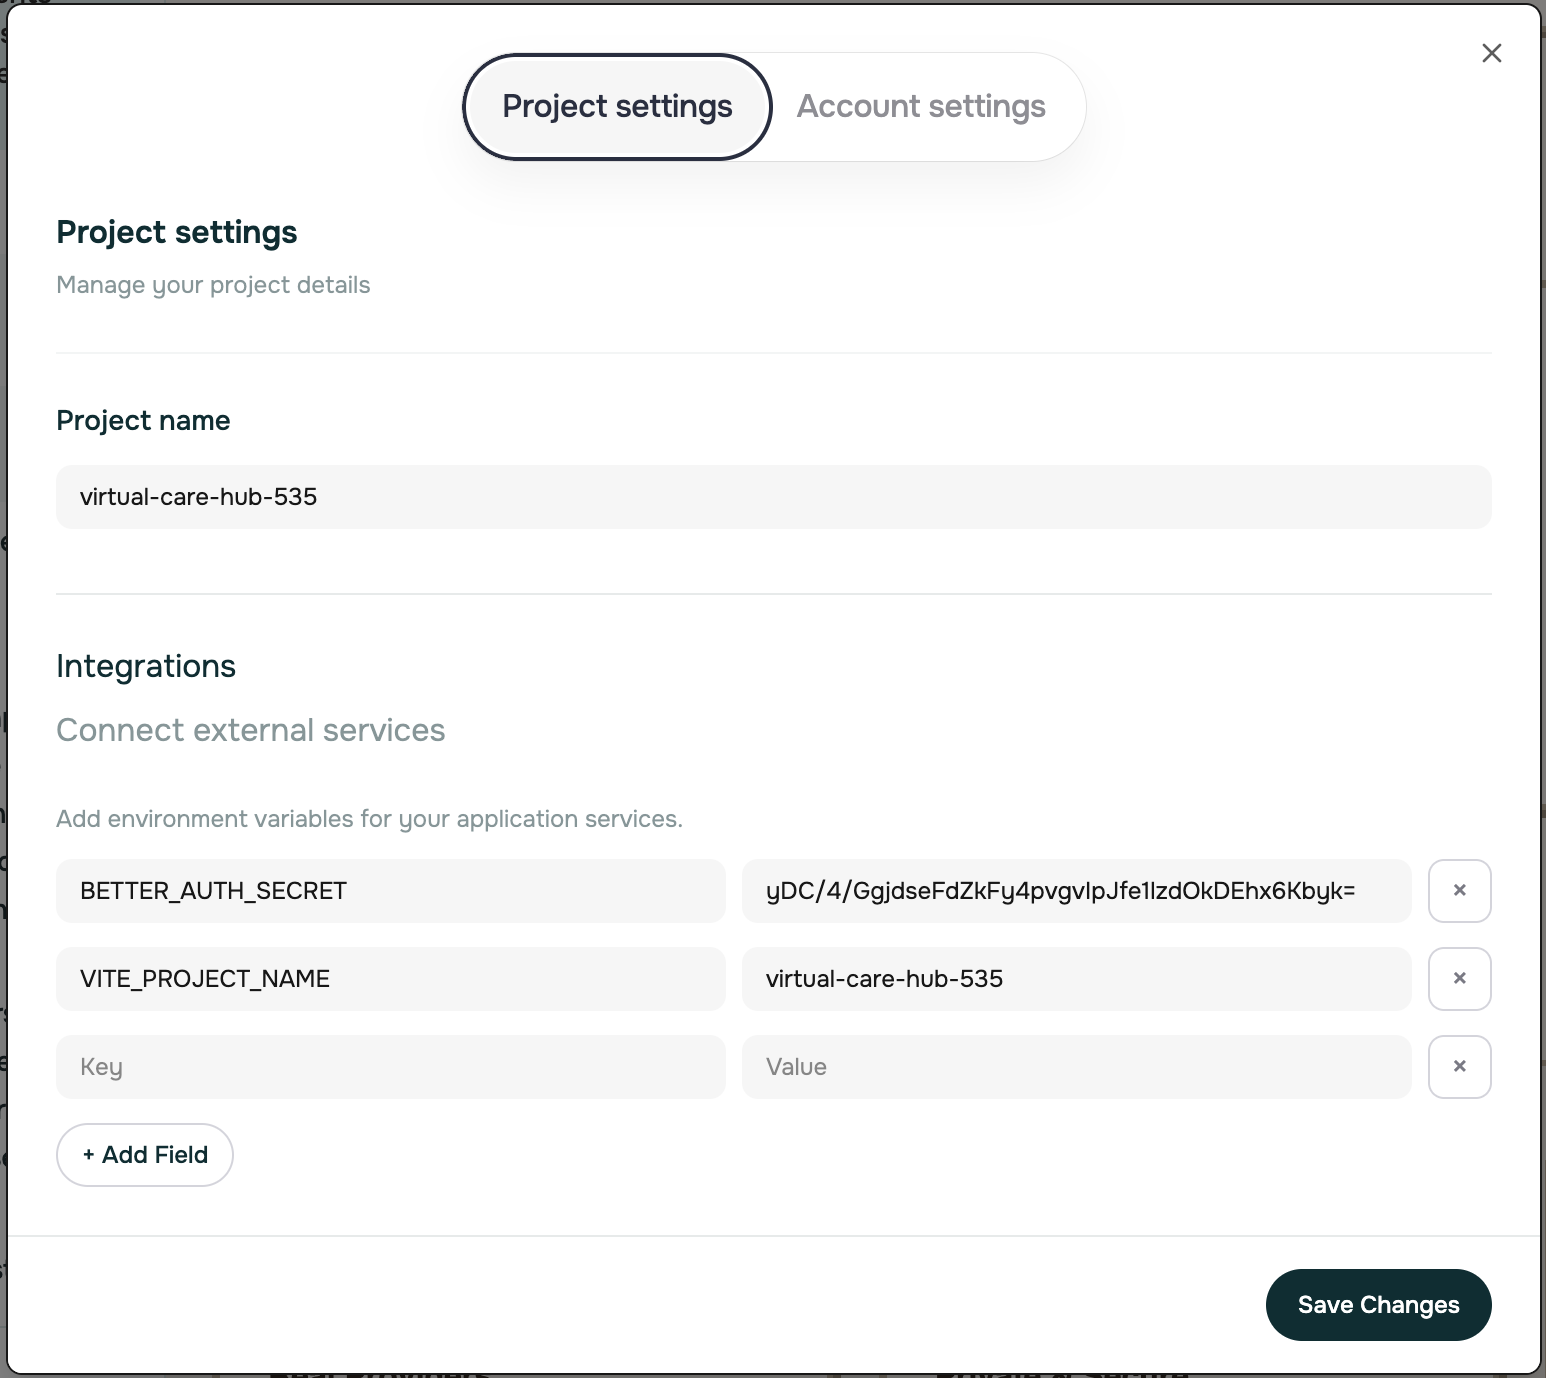
- Add them to Project Settings → Integrations. Click "Add Field" and enter the key/value pairs the AI specified.
- Tell the AI you've added them. Paste the values back into chat: "I added my Stripe keys. Here they are: [values]. Can you verify the integration works?" The AI tests the connection and confirms.
A compliance note
Specode gives you HIPAA-ready rails for the core hosted stack. The moment you add a third-party service that touches PHI, you're expanding your compliance surface area.
- CometChat (video and messaging) specifically requires a HIPAA plan before real patient calls. The standard free plan is fine for testing with synthetic data, but you'll need to contact CometChat and request the HIPAA plan for production.
- Other PHI-handling services (eRx, EHR/EMR integrations, lab systems) may have their own BAAs and onboarding requirements.
Your Specode team will help identify which BAAs you need based on the integrations you've picked. For step-by-step setup of the most common integrations, see Integrations in the docs.
7. Apply Your Branding
Branding lands after your core workflows are stable. Doing it earlier means redoing it every time you change a screen.
Step 1: Upload your brand assets
Drag and drop your logo and favicon directly into the AI Coder, or click to upload. The two are separate files:
- Logo: PNG, JPG, or SVG
- Favicon: smaller browser tab icon, uploaded separately
Once uploaded, reference them in prompts. For example: "Apply the logo I just uploaded to the header and the login page."
If you uploaded reference images during planning (mockups, screenshots of apps you admire), the Design Agent already pulled direction from them when shaping the initial design system. Branding now is about layering your specific assets and color decisions on top of that foundation.
Step 2: Tweak theme variables before polishing individual screens
Specode uses Shadcn UI with CSS variable-based theming. Adjust --primary, --background, and --foreground first. Small variable changes ripple across the entire app, so start here before touching individual screens.
Prompts that work well here:
Set primary to #007AFF, secondary to #5856D6. Keep the existing neutral grays.
Increase input height to 48px, add a brand-color focus ring, and radius-md on all forms.
Apply our logo to the header and auth screens. Update email templates to match our colors.
Design sanity checks
Test the app at desktop, tablet, and mobile widths using the preview controls. Verify readability and accessible contrast. Avoid color soup: if every element fights for attention, none of them win.
If you're sharing a deployed preview link with stakeholders, open it in your own browser too. It's the closest thing to how others will experience the UI.
For more on theming, including a full list of customizable CSS variables and example prompts, see Theming & Design Changes in the docs.
8. Test as Each Role
Before you ship, click through every flow as every role. Features are role-scoped, so something that works perfectly as a patient might be invisible or broken as a provider.
Use the seed logins
Your first build came with example login credentials per role (patient, provider, admin, or whatever you defined). Sign in as each one and run through the same flows you'd expect a real user to run through. No manual user setup required.
Scenario checklist
Hit these in order:
- Auth and dashboards. Sign in as each role, confirm each lands on the right starting screen with the right navigation.
- Core workflow loop. Run your main loop end to end. Example: patient submits intake → provider sees it in their queue → provider responds → patient sees the response.
- Data persistence. Create a record, refresh the page, confirm it's still there and visible to the right role.
- Edge cases. One "break it" pass: missing required fields, unauthorized access attempts, cancellations, empty states.
Synthetic data only
The preview environment is not HIPAA-compliant. Use synthetic or sample data only. This applies to the in-editor preview and to any deployed preview links you share with teammates or stakeholders. Tell anyone you share a preview with: do not enter real patient data.
Sharing previews
When you want feedback from someone outside Specode, click Preview in the top right of the AI Coder and then Deploy new version. This pushes your latest state to a shareable URL.
One important gotcha: the deployed preview is a snapshot. If you make more changes after deploying, the snapshot doesn't update automatically. Click Deploy new version again to push the latest.
For more on preview workflows (including access control options and known gotchas), see Sharing Your Preview in the docs.
Common hiccups
- Change "applied" but not visible? Refresh the preview browser tab. If you're on a deployed preview, redeploy.
- Something looks off but no error appears? Ask the AI to run a quick health check and tell you where it's failing.
- The AI gets too technical? Say: "Explain this like I'm not a coder. Give me the smallest next step."
9. Run the HIPAA Compliance Agent
Before you press Publish, run the built-in HIPAA Compliance Agent. It scans your codebase for potential HIPAA violations, flags them by severity, and lets you fix them on the spot.

How it works
The agent uses a multi-agent verification system. Two independent AI agents scan your code in parallel. A third agent merges and verifies their findings to reduce false positives. Issues come back categorized by severity:
- Critical
- High
- Medium
- Low
A full scan takes roughly 3 to 4 minutes and costs about 1 credit.
Workflow
- Open your project in the AI Coder
- Click the shield icon in the toolbar to open the Compliance Center
- Click Run Scan
- Review the flagged issues
- Copy any issue into the AI Coder chat to get a fix
- Re-run the scan to confirm the fix worked
All scan history is saved, so you can track your compliance progress over time and show the trend to anyone reviewing the project.
What it covers today
The agent currently checks:
- Authentication and session security
- Data handling practices
- Common HIPAA compliance pitfalls
More categories will be added over time.
A caveat worth stating
The Compliance Agent helps you spot issues in your code. It doesn't certify your app as HIPAA-compliant on its own. Compliance is bigger than code: it includes BAAs with every service that handles PHI, your organization's policies and training, breach response procedures, and more. Treat the agent as a first line of defense, with the rest of your compliance program around it.
For the full reference, see HIPAA Compliance Agent in the docs.
10. Launch
Preview is not production. Treat both the in-editor preview and any deployed preview link as pre-PHI only. Real patient data goes in after you go live.
Clear the deployment gate
Publishing requires:
- HIPAA-ready production infrastructure (Specode handles this)
- Backend hosting BAA, included on Pro (you'll sign a self-serve BAA in your own production backend account; the Specode team walks you through it)
- Signed BAAs with each third-party service that touches PHI (video, messaging, eRx, analytics, and so on)
- Security review by the Specode team, typically 1 to 2 business days
If your app stays within Specode's hosted foundation, you're starting from HIPAA-ready rails for the core stack. Each third-party service you add expands the surface area, which usually means separate vendor due diligence and additional BAAs.
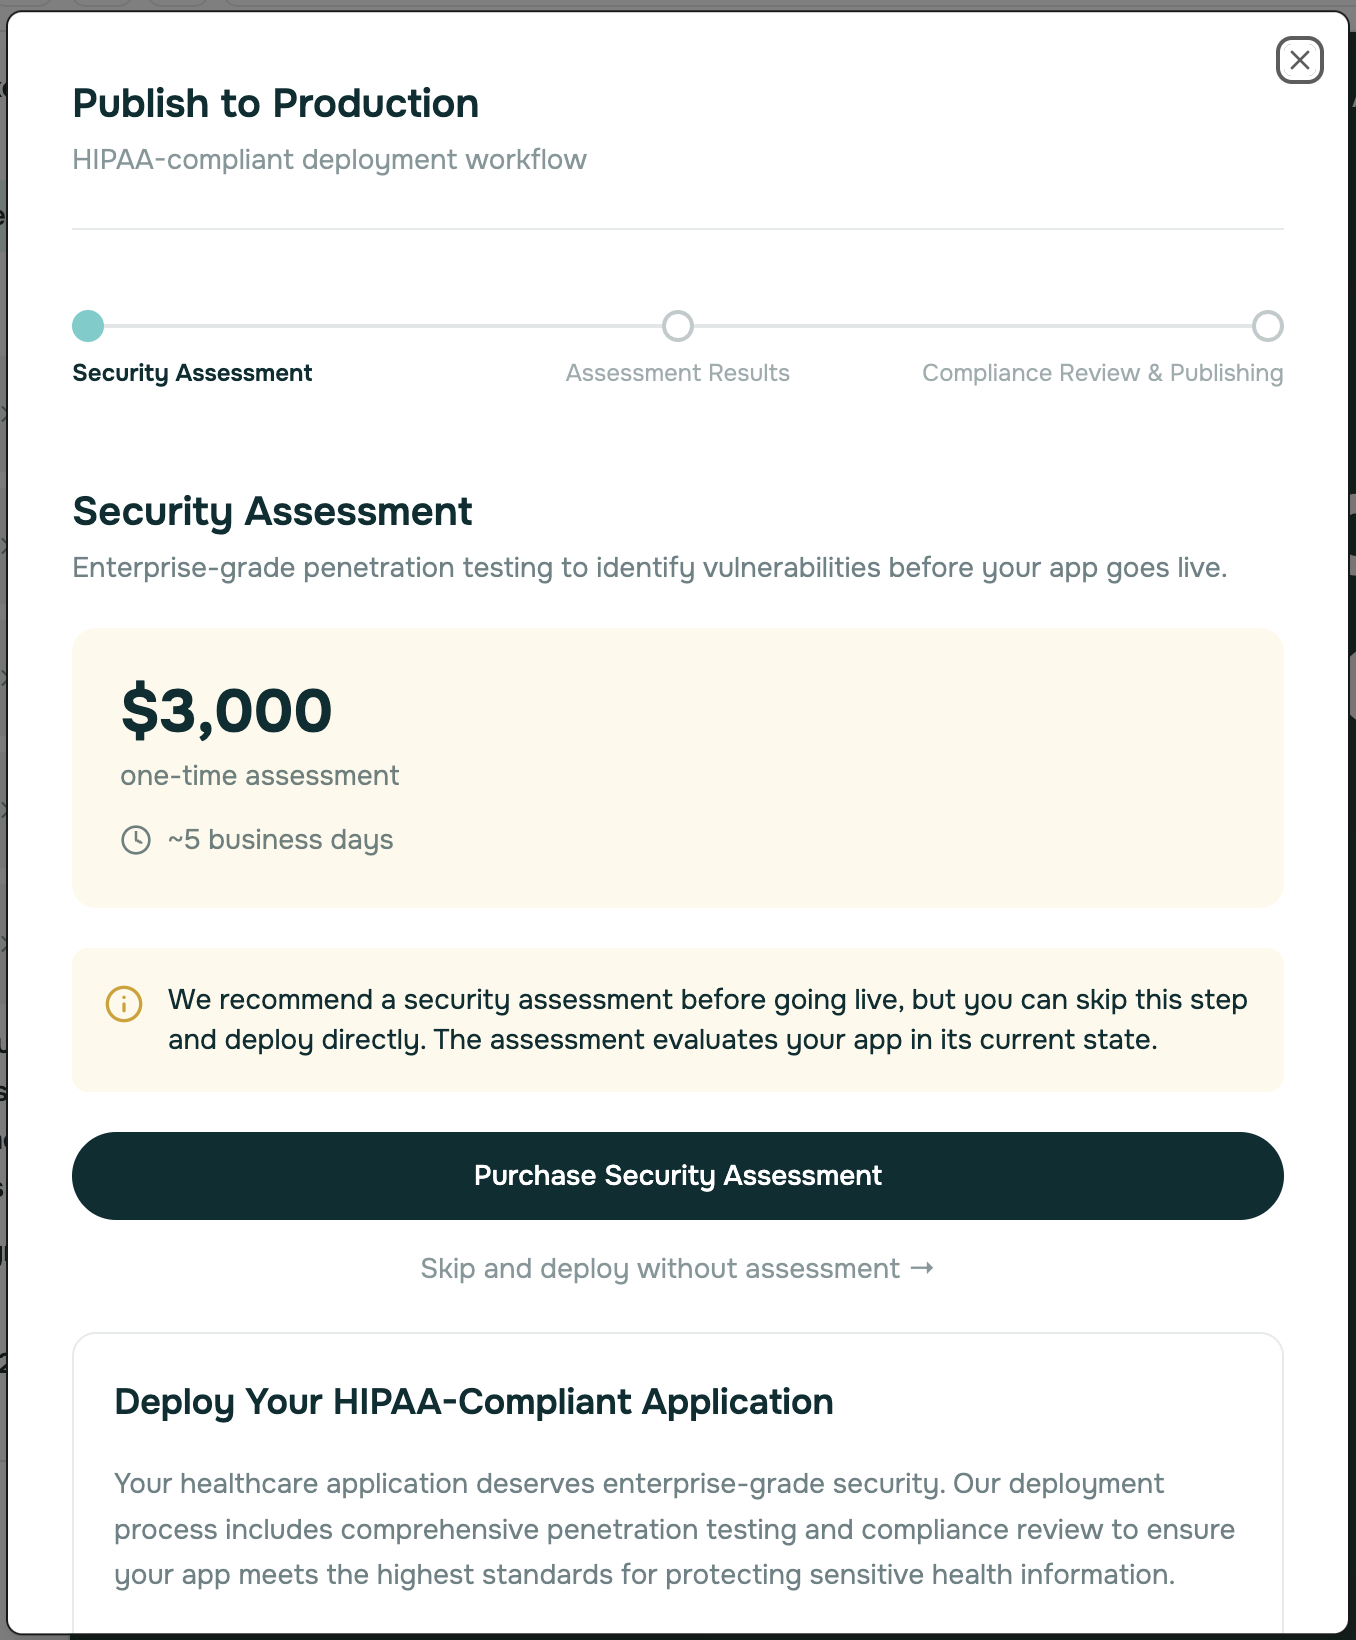
Optional: in-house penetration test
For procurement, security review, or enterprise onboarding, Specode offers an optional in-house penetration test for $3,000. Teams typically request it when they need a pen test report to satisfy a buyer or compliance reviewer. Pro deployment doesn't require it on its own.
Press Publish
When your test pass is clean, the Compliance Agent is happy, and branding is in place, hit Publish. The Specode team reviews your app and completes the deployment steps. You'll get an email once it's live.
Choosing your plan
Pro ($1,000/month) is the right starting point for most teams: production deployment, included backend hosting BAA, 2,200 credits, and hands-on weekly support from the Specode team. Custom (from $5,000/month) adds managed coding, dedicated team support, and custom AI agents, for teams that want Specode to drive the build for them.
You can switch tiers anytime as your project grows. For current pricing details, visit the Specode pricing page.
For the full deployment checklist (GitHub, custom domain, email service setup, and other prerequisites), see Going Live in the docs.
Frequently asked questions
No. The preview, including any shareable deployed preview link, is for building and demos only. Use synthetic or sample data while you build and test. Real PHI goes in only after production deployment with signed BAAs in place.
No. Specode is designed for non-coders. You describe what you want in plain English, the AI agents ask follow-up questions, and the code gets written for you. If you ever want to peek under the hood, the Terminal icon in the top nav exposes a developer view, but it isn't required for any part of the standard build, test, or launch flow.
Sign in with the example logins (one per role) and click through the core flow you described during planning. Note what's missing or off. Then iterate one small change at a time using the AI Coder chat. Don't try to do five things at once.
Run it whenever you've made meaningful changes, and definitely before you press Publish. Each scan takes about 3 to 4 minutes and roughly 1 credit. Copy any flagged issue into the AI Coder chat and the AI will fix it, then re-run to confirm. The agent helps you find issues in your code; it doesn't certify the whole app as compliant on its own.
Choose Pro ($1,000/month) if you want to drive the build yourself with production deployment, the backend hosting BAA included, and weekly team support to unblock you. Choose Custom (from $5,000/month) if you want the Specode team to manage the build for you, with dedicated support and custom AI agents on top.